
Setting up your REDCap account
Step 1 : Connect to your REDCap server
The name of the REDCap server along with your USERNAME will be sent to you by email as soon as we approve your REDCap account.
| Instructions for redcap.unifr.ch: (all new projects since 2024) | Instructions for REDCapMED & REDCapSEC: (projects older than 2024) |
|
On the server's home page, click on "AAI | SWITCH edu-ID":
|
Your PASSWORD is the same as for your @unifr.ch email address. |
|
If you are in contract with the UniFR: Select "Université de Fribourg" from the dropdown list:
If you are in contract ONLY with the HFR: Select "VHO - Virtual Home Organization" from the dropdown list:
Fill in the information based on the email you have received from SWITCH VHO (the username always starts with "redfr-"):
|


Step 2 : Fill in your user information
! Please ONLY provide your institutional email address (xxx@unifr.ch or xxx@h-fr.ch) !

Step 4 : A verification email is sent to the specified email address

Step 5 : Check your email inbox and confirm your address

Step 6 : Install an Authenticator Application
Access to REDCap is reinforced using the Two-Factor Authentication (2FA).
As such, you will need any one of these Authenticator Apps:
- Aegis (Android) [Best one for data privacy]
- Authy (Android, iPhone)
- Microsoft Authenticator (Android, iPhone)
- Google Authenticator (Android, iPhone)
Step 7 : Log into the server
- redcap.unifr.ch
On the server's home page, click on "AAI | SWITCH edu-ID":
Your USERNAME will always be your institutional email address (xxx@unifr.ch or xxx@h-fr.ch).
- REDCapMED/REDCapSEC
Simply fill in your credentials in the fields below:

Step 8 : Configure the two-step authentication
Keep your smartphone ready and connected to the Internet.
When you receive the following prompt, simply click on "Google Authenticator or Microsoft Authenticator: [...]":

Another prompt will pop-up and click on "How do I set up Google Authenticator or Microsoft Authenticator ?":

Follow the instructions on screen and configure the 2FA by opening your Authenticator App and scanning the QR code.

IF YOU ARE USING AUTHY AUTHENTICATOR INSTALLED ON YOUR COMPUTER, use the Key/secret code to configure your 2FA (instead of the QR code).
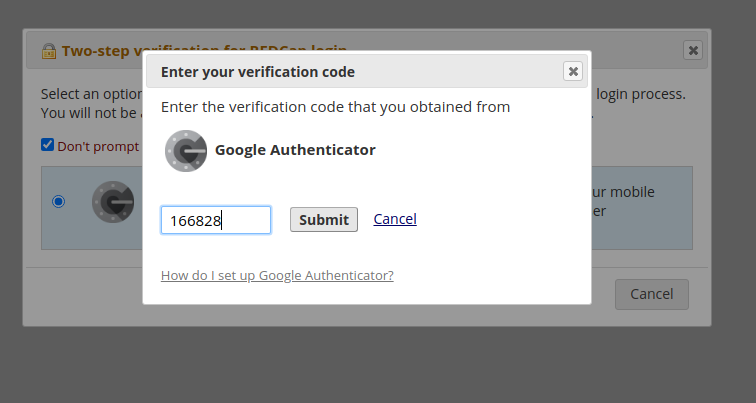
Now each time you want to log into the server, enter the verification code provided by your Authenticator app:
Step 9 : Your first login is successful!
