
REDCap tutorials
This book contains tutorials related to complex functionalities from REDCap as well as a list of new functionalities that are introduced at each major update.
Of note, if in REDCap you are not seeing one of the functionalities presented in the book, it means that you do not have the access rights. To access the desired functionality, go to  , select your username and click on
  to adjust the individual access privileges. If you are not even seeing the option, then you need to ask the project responsible or the Sponsor/PI to grant you access to the desired functionality.
Recording of the last REDCap Database Implementation Course [10.04.2024]
The course material can be downloaded here.
Randomization
Randomization can be directly implemented in REDCap and can sometimes be a bit tricky. We provide here suggestions to improve the quality of your randomization in REDCap.
1. Enable the Randomization Module
Go to  then click on "Enable"
  .
.
A new option will then pop-up under "Applications" (left hand menu):  .
.
2. Define the Randomization Model
Depending on the complexity of your research design, you have two optional settings that may be configured:
 : By choosing strata (multiple choice fields), you may then be able to ensure balance within subgroups such as gender, race, etc. You can add up to 14 stratification factors.
 : Stratify the randomization by each group/site in case of multi-center/multi-site project. A multiple choice field or the Data Access Groups can be chosen to stratify by group/site.
 where you define the field where the allocated randomization (treatment) group will be saved and stored (this is where the
  button wille appear). In the case of a longitudinal design (with or without multiple study arms), you also have to chose the event name where the button should appear.
| Of note, REDCap reaches its limits here in that it can only offer static randomization. Thus, for study designs including different study arms, REDCap does not offer the possibility to randomize your participants to either one of the other study arm. As such, you should think carefully whether you really need to create separate "arms" in your REDCap project. The purpose of REDCap's arm functionality is to facilitate different groups of records having different events or different form-event mappings. You do not necessarily need to set up separate REDCap arms just because your study has separate treatment arms. If you really need to randomize your participants to different study arms, then you could follow this example: When our studies use this type of 3-arm project, we train study teams in manually entering data for subject #1 in the randomization arm, then randomizing them, and then starting another record for subject #1 in the correct intervention or control arm. You'll get a warning from REDCap that 2 records in different arms have the same record ID, but in this example that is what you want. For this alternate method to work, you will need to deactivate the  (Know that deactivating this module entails risks for your study as you will be responsible for numbering your records ID). (Know that deactivating this module entails risks for your study as you will be responsible for numbering your records ID). |
|---|
Once you save your randomization model you should get the following message:

Also, be informed that once you save your randomization model:

3. Prepare and Upload Allocation Tables
Based on your randomization model, REDCap provides you with 3 different models (Excel .csv files with comma delimiter):
Take the one that suits you better and start defining your allocations randomly.
This step is usually performed by your study statistician, while the rest of the study team should remain blind to conditions allocation.
Most importantly, you should ALWAYS PREPARE TWO DIFFERENT ALLOCATION TABLES !
The allocation table for the DEVELOPMENT status should be different from the one used in PRODUCTION mode:
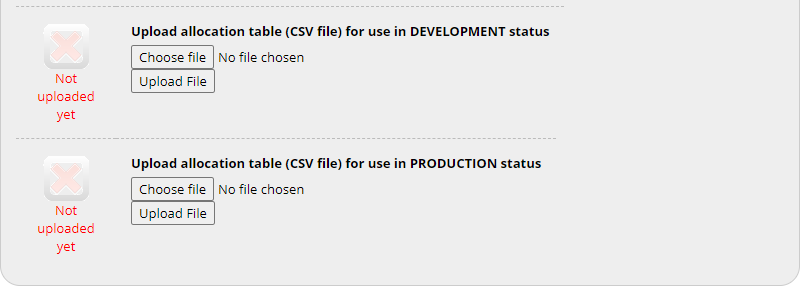
The development allocation table is used to perform pre-tests while the productive allocation table should solely be used once recruiting real participants' data.
Additional Documentation
For a step-by-step demonstration, have a quick look at the following video: